 Before I was diagnosed with celiac, I spent years dreaming about opening my own little bakery. I would call it Downeats or Little Maine Kitchen or something like that. There would be delicious rounds of focaccia topped with things like cheese and parmesan, caramalized shallots and parsley, and olives and oregano. Sea salt on everything, of course. The sweets menu would be luxury but casual pastries, like chocolate and scorched meringue tarts, rose and pistachio shortbread, and dainty vanilla cakelets. Of course there would be plenty of sourdough boules and baguettes to choose between. It would be a smashing success and we would live happily ever after, baking away our mornings and eating bread and cakes under the sunset. Baking is a nice way to start the day, no? While daydreaming up my bakery ideas a couple weeks ago, it got me thinking of these vanilla cakelets that I used to make. They’re great for any season, really, but I particularly love them in the spring- perhaps because they remind me of Easter. This vanilla cakelet recipe creates the cutest, sweetest looking cakes I’ve ever seen.
What are Vanilla Cakelets?
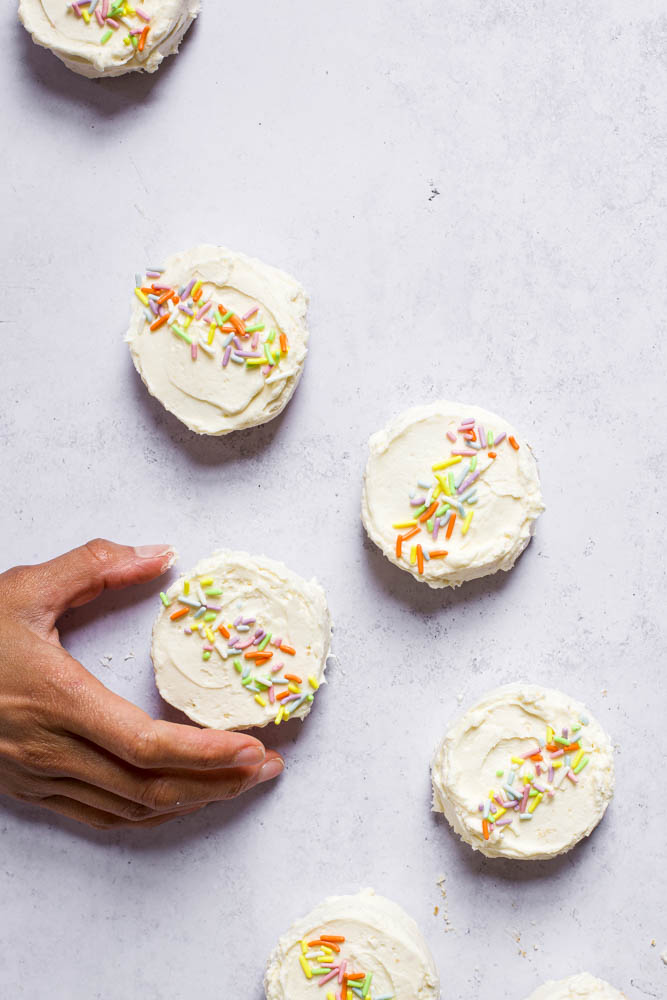
What is a cakelet? I’m not sure you’d find it in Merriam-Webster, but I like to think of it as a tiny cake- about the serving size of a Little Debbie snack cake. (Of course, a homemade vanilla cakelet recipe will be far more delicious than anything Little Debbie can dish out) What really makes these little sweet treats go from vanilla cakes to “vanilla cakelets” is the fact that they are so small. I use a normal 9″ round cake pan, and then when the cake cools I use a glass jar or a cookie cutter to cut out littler cakes. Nordicware has great cakelet pans for tiny bundt style cakes, or other fun shapes, but I honestly feel like just using cookie cutters and cutting out shapes is fun, albeit a bit messy. Generally when you google cakelets you’ll find an array of unfrosted, plain vanilla cakes, similar to a teacake. 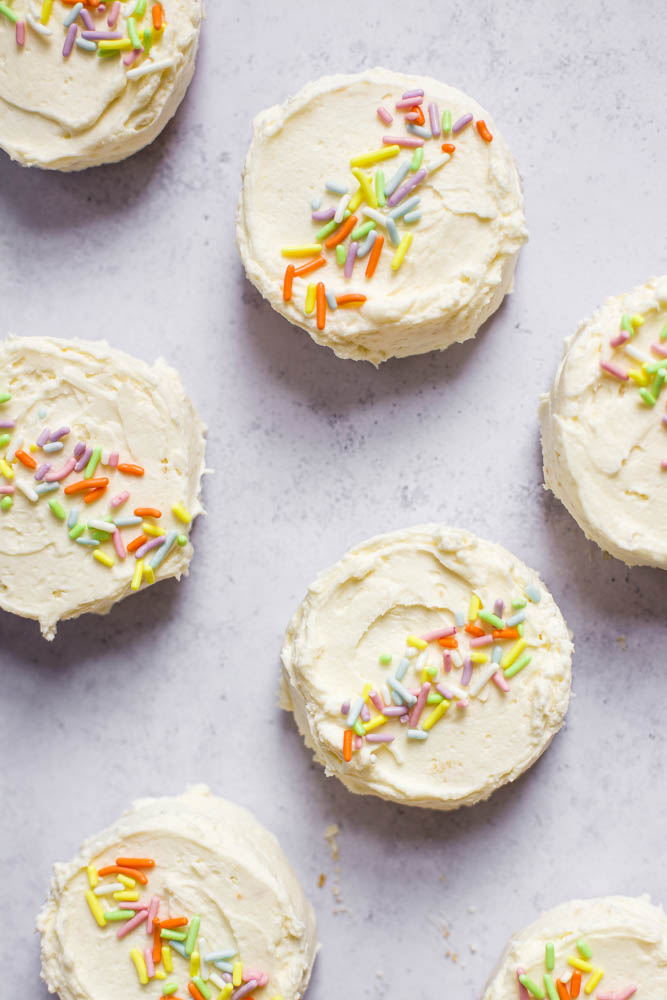 You can choose to top or coat them with frosting, whipped cream, fruit compote, or just dust them with powdered sugar. For this recipe, I’ve made my favorite vanilla cream cheese frosting, but if you don’t have the extra time or don’t want the extra sugar you can absolutely leave it out. Additionally, trying to coat them entirely with frosting is also a bit messy (though they turn out so cute!), so if you opt for just frosting the top that’s fine, too. I’ve made a couple of helpful tips below for frosting the cakes.
Vanilla Cakelet Recipe Tips and Notes
Since I was just diagnosed with celiac a couple weeks ago, I made my vanilla cakelets gluten-free, and I have included the gluten-free version below. It’s very easy to adapt this recipe to whatever your preference is! When cutting out the shapes of the cakelets, it can get very crumbly and messy, so have a big, clean counter space ready ahead of time. Additionally, feel free to save the leftover cake scraps for any fun cake crumb dessert projects (or you can just eat the scraps which is what the kids and I always do!) If you choose to frost the cakes: My number one tip is to first divide your frosting into two separate bowls. Since the first layer of frosting on any cake usually gets messy with crumbs and doesn’t look very pretty, we don’t want all of our frosting full of cake crumbs. Designate one bowl of frosting to be the “No crumbs” bowl, and another bowl to be the “crumb layer” bowl. Frost the cakes from the crumb layer bowl, and expect that they’ll look messy and covered with crumbs. Once they are all frosted, put them in the refrigerator for at least an hour. This will cause the frosting to chill and harden slightly, so that when you put on the second layer of frosting it will cover up the first (messy) layer. Then you will have nice looking cakes that aren’t covered in cake crumbs. 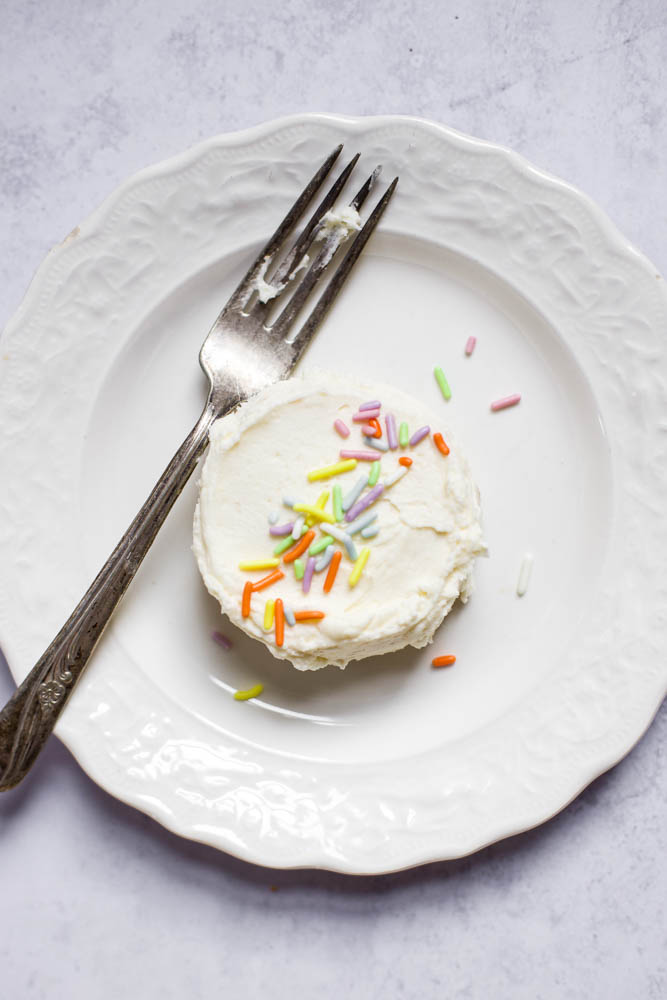
Vanilla Cakelet Recipe
Ingredients
Method
- Preheat the oven to 350˚F and lightly oil your cake pans and dust them with flour to prevent the cake from sticking.
- In a medium sized mixing bowl whisk together the flour, salt baking powder (and tapioca starch if you're making the gluten free version).
- In a mixing bowl with a stand-attachment or using an electric mixer, cream together the butter and the sugar about 2 minutes. Add in the eggs one at a time, mixing well between each addition. Mix in the vanilla and milk until thoroughly combined.
- Pour the dry ingredients into the wet ingredients mixture. Using a rubber spatula, gently mix in the dry ingredients until just combined and there are no dry spots. Be careful not to over mix!
- Pour the mixture into your cake pan and bake until slightly browned on the top and a toothpick comes out clean- about 30 minutes.
- After baking, allow the cake to cool for about 15 minutes, and then carefully remove it from the pan. Allow it to cool completely by putting it in the fridge for about 30 minutes.
- When the cake has cooled place it on a clean, flat surface. To form the cakelets, use a small glass jar or a round cookie cutter, or your cookie cutter of choice to cut shapes out of the cake. Continue until you've used up all of the cake and can't make any more shapes. The amount of cakelets depends on the size of your cookie cutter. I use a rather small glass jar, so I get about 15 little cakelets.
- Frost the cakes with two layers of cream cheese frosting, refrigerating the cakes for at least an hour between each layer of frosting (see notes/tips above). Alternatively, top the cakes with whipped cream, berries, citrus curd or powdered sugar just before serving.
- Combine the ingredients in a large mixing bowl and whisk on high speed until light and fluffy, about 5-7 minutes. Best used at room temperature, but refrigerate if you're not using it within an hour or two.